Spring is here! I wanted to do something that did not take that much prep time and was easy to do. I did remember I saw a recipe for a spatchcock chicken, but I never actually saved the recipe so I had to go on a whim. This is what I did.
Thanks to an episode I saw from Ina Garten, I remembered how to spatchcock a chicken. Spatchcocking a chicken means to “butterfly” or to take the backbone of the chicken off. I did mine with some kitchen shears. It was easy enough to do. I will say. Take your time so that you do not take actual meat off the chicken! I did that to the right side (sorry chicken). It was not a lot, but still. I felt bad.
This is what I did! Here are the ingredients. This can serve a family of 4 easily or use the rest for meal prep for the week!
- 1 whole chicken (mine was 6 lbs)
- 1 medium onion cut into slices
- 1 lemon cut into slices or quarters (whatever is easiest)
- 1 tablespoon of room temperature butter.
- 1-2 tablespoons of Olive Oil (or your favorite infused oil)
- Salt and pepper to taste
- 1 tablespoon of oregano (I used Mexican oregano for this)
Want to make a gravy with the chicken?
- Spine of the chicken (in pieces)
- 1 tablespoon of soy sauce
- Pepper (to taste)
- 1 small onion
- 1 carrot
- 1/2 cup of chicken stock or water
- 1 Tablespoon of cornstarch (to thicken the sauce)
How I did it.
- Preheat the oven for 400 degrees. Spatchcock or butterfly your chicken with kitchen shears. Now you can do this with a knife, while not the safest I have done it in the past because I didn’t have good kitchen scissors. If you want a video, you can see it here.
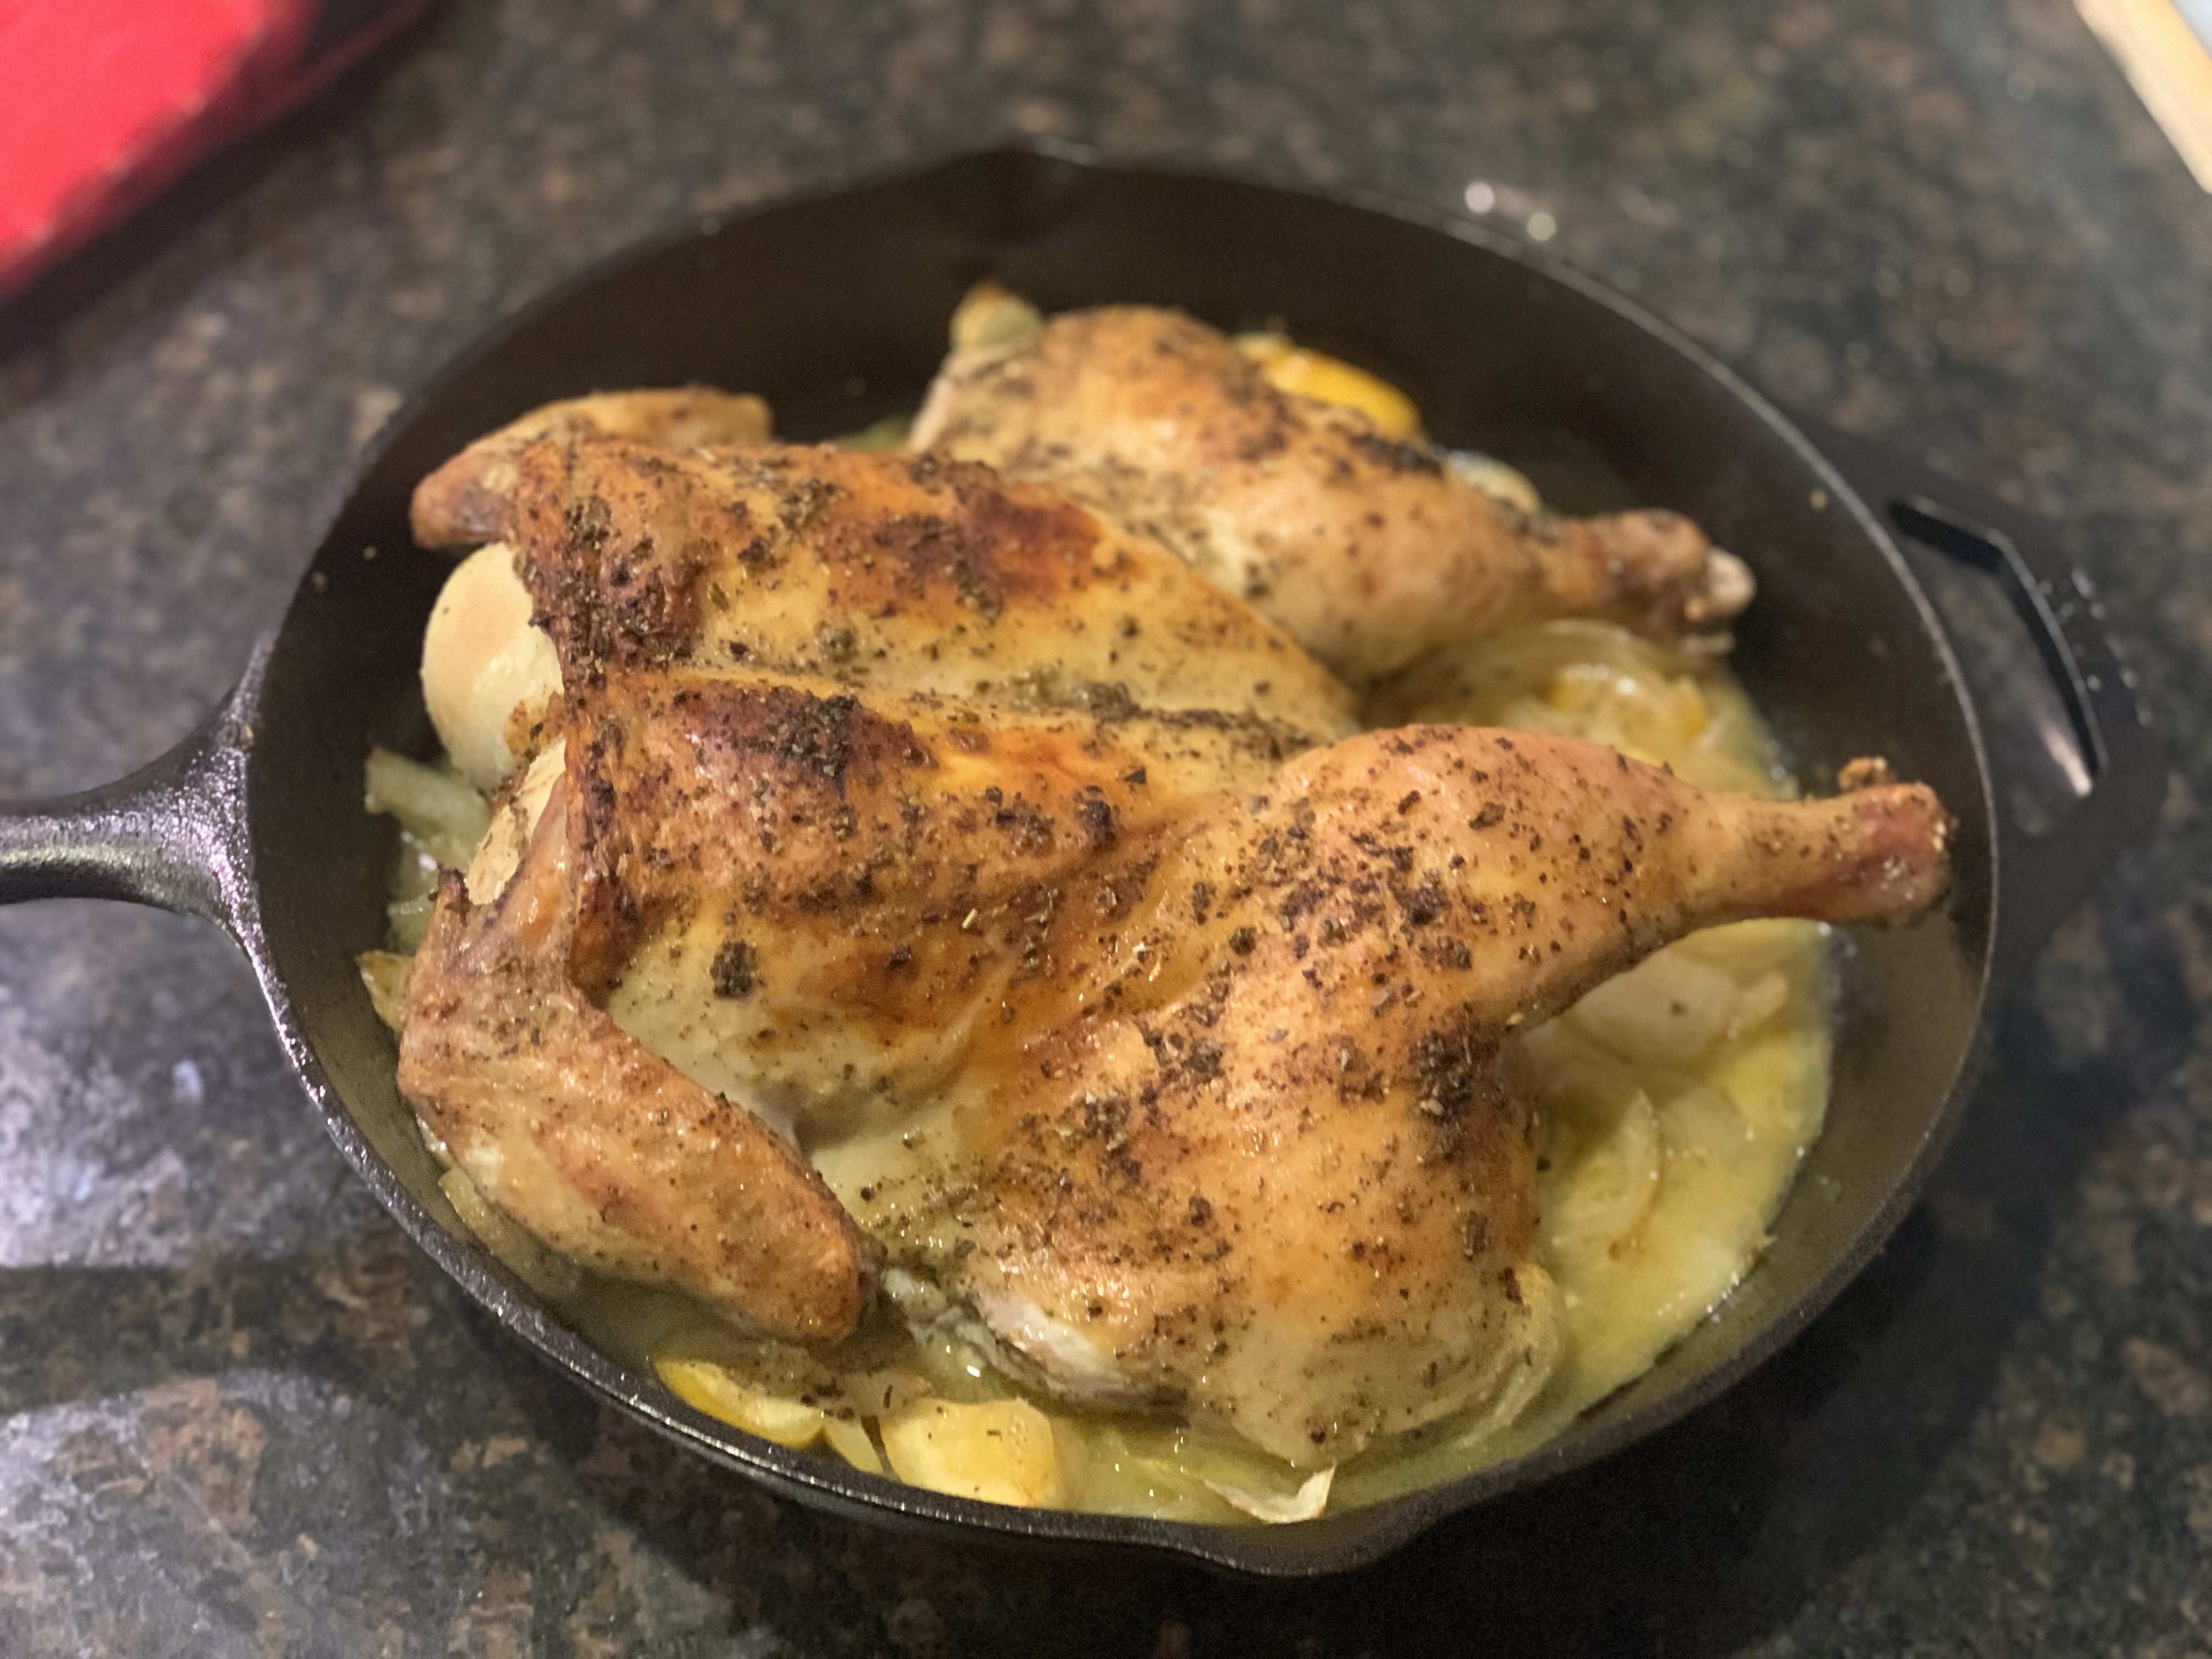
- After you spatchcock the chicken, PAT.IT.DRY. the drier it is the crispier the skin. Season the inside (the butterflied part) of the chicken with salt and pepper. Garlic would be an awesome addition. I’m going really pure this time.
- To get an even better skin, a tablespoon of room temperature butter underneath the skin of the chicken. After you have all that butter in there, cover the skin side of the chicken with some olive oil and season liberally with salt and pepper.
- Lets talk about what pan to use, I used my cast iron pan, but I have done it in a sheet pan. You just need space to fit the chicken. Before you put the chicken in the pan, throw the onion and lemon in the pan. This will also help season the chicken, but also to elevate it so that it cooks evenly.
- Place chicken in the oven and cook for 55 minutes. Mine took 60 minutes, purely because it was a 6 lbs chicken. If you have a 4-5 lb chicken 55 will be more than enough. Always check if the chicken is 160 degrees before serving.
How to do make the gravy
- In a small stock pot, add some oil to the pan. When it gets super hot, throw the spine and sear it. After 2-3 minutes add the onion and carrots. Let it cook for 5 mins
- Deglaze the pan with the stock/water and soy sauce. Let it simmer for 20 mins (or honestly as long as you want. The more it simmer, the better flavor it will have)
- Once it’s simmered (around 10-15 mins before you take that chicken out of the oven) it should have a beautiful golden color. (if you use beef stock like I did my first time doing this recipe, it will be a really dark brown).
- In a small bowl, add the 1 tablespoon of cornstarch and 3 tablespoons of the gravy. Whisk it together and then add to the stockpot. Whisk everything together and leave it bubbling.
Let’s go back to the the actual chicken.
- Once it reaches the 160 degrees, take it out of the oven.
- Let the chicken rest for 5 minutes, so that the chicken can have its juices settle and relax.
- Cut the chicken into parts. I cut right in the middle and then cut the leg from the thigh and slice the chicken breast into pieces since they were huge.
What sides can you use? Whatever you want! I used some simple roasted potatoes.
I used 5 red potatoes, cut in small pieces and used olive oil, salt, pepper and garlic for seasoning. I lined a sheet pan with some parchment paper or foil and cooked for 40 minutes. Because the chicken was going to take longer, I put it in the oven a little later.


